
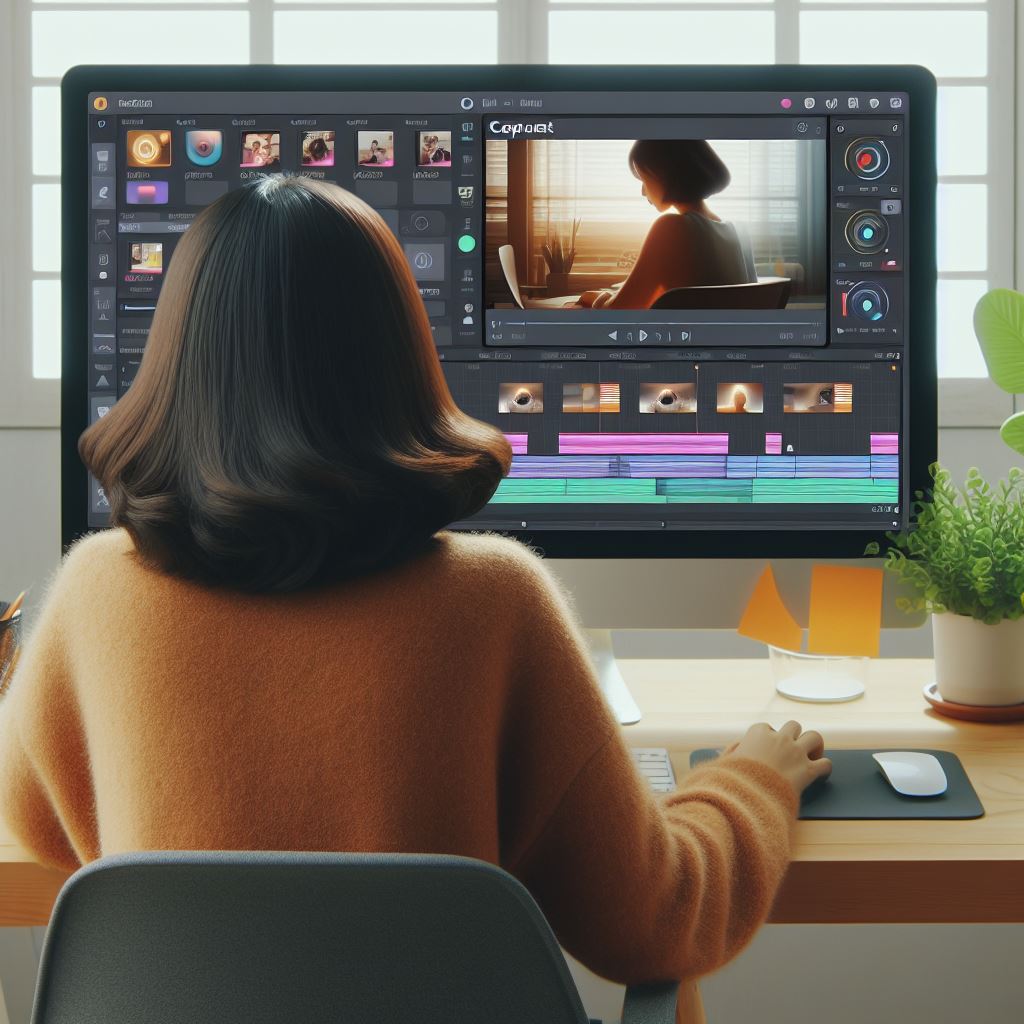
Are CapCut Templates customizable?
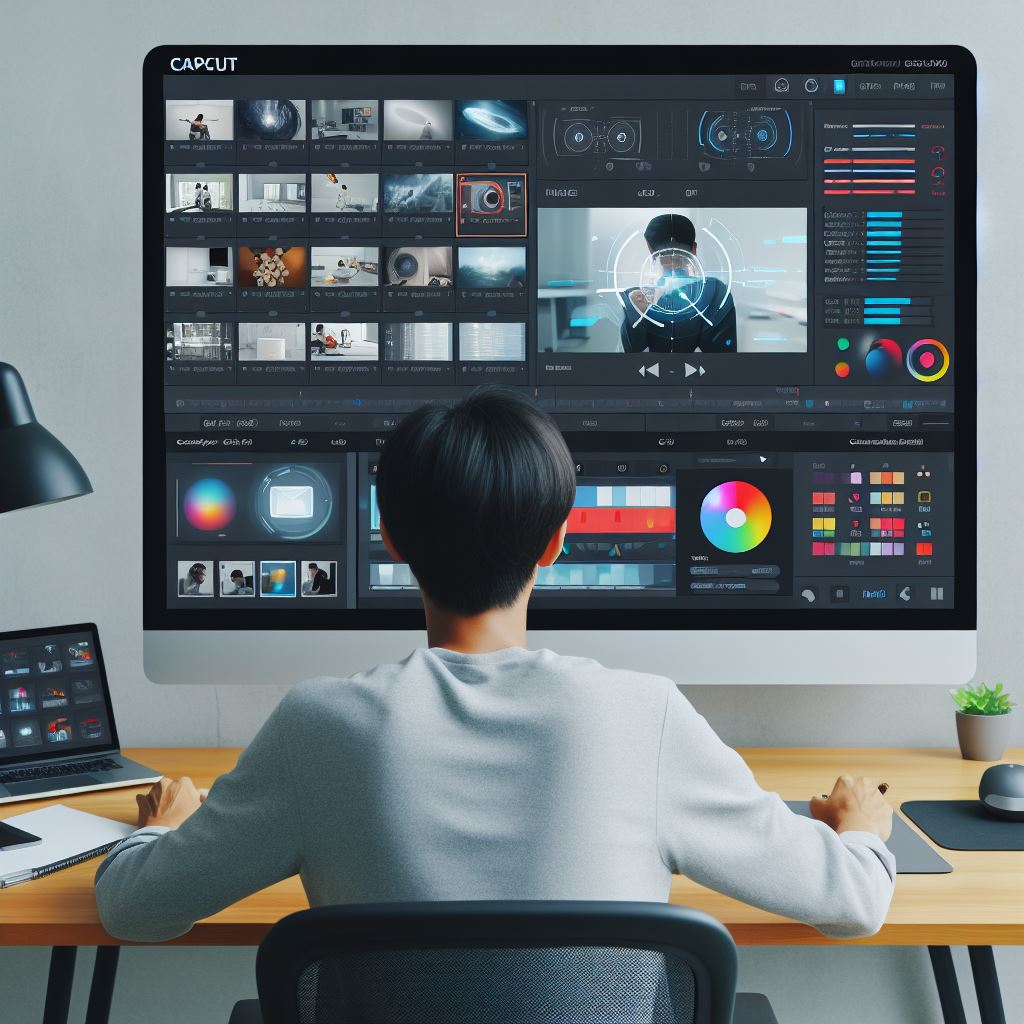
Yes, CapCut templates are customizable! They are designed to be a starting point for your video editing, allowing you to add your own creative touch. Here’s what you can typically customize:
- Media: Replace the placeholder photos and videos with your own.
- Text: Edit the existing text or add your own captions and titles.
- Music: Change the background music to something that fits your video better. You can use music from your device or the royalty-free music library within CapCut.
- Effects and transitions: Many templates come with pre-applied effects and transitions. You can adjust these or add your own.
In some cases, you might also be able to customize the layout of the template, but this depends on the specific template itself.
Here are some resources to learn more about using and customizing CapCut templates:
Get Access Now: https://capcuttemplate.xyz
Media: Replace the placeholder photos and videos with your own. Explan
Replacing placeholder photos and videos in CapCut is a straightforward process. Here’s how to do it:
- Open your CapCut project: Launch the CapCut app and open the project where you want to replace the placeholder media.
- Locate the placeholder: On your editing timeline, find the clip with the placeholder photo or video you want to replace.
- Tap the clip: Select the clip by tapping on it on the timeline.
- Access the editing options: Once the clip is selected, you’ll see editing options appear above the timeline.
- Replace button: Look for a button labeled “Replace” or an icon representing an image/video. This button might be located slightly differently depending on your device and CapCut version.
- Choose your media: Tapping the “Replace” button will open your device’s media library. Here you can choose the photo or video from your phone’s storage that you want to use instead.
- Confirm replacement: Select the photo or video you want to insert, and it will automatically replace the placeholder in your project.
Additional Tips:
- You can also import media directly from other sources like social media or cloud storage if your CapCut version allows it.
- Make sure your replacement media has a similar aspect ratio (width and height proportions) as the original placeholder to avoid any stretching or cropping issues.
- You can trim and adjust the replaced media within CapCut just like any other clip on your timeline.
By following these steps, you can easily replace the placeholder photos and videos in your CapCut project with your own media, allowing you to personalize your video creation!
Get Access Now: https://www.capcut.com/
Text: Edit the existing text or add your own captions and titles. Explan In details
Editing and Adding Text in CapCut: A Detailed Explanation
CapCut offers great flexibility when it comes to text editing. You can personalize your videos by modifying existing text elements or adding entirely new captions and titles. Here’s a breakdown of both processes:
Editing Existing Text:
- Selecting Text:
- Locate the text element you want to edit on the timeline.
- Tap on the text element to select it. A yellow outline will appear around the text box.
- Editing Options:
- Once selected, you’ll see editing options displayed above the timeline. These options may vary slightly depending on your device and CapCut version.
- Text Content:
- Tap directly on the text box. This allows you to edit the existing text by adding, removing, or changing the wording.
- Text Style:
- Look for options labeled “Font,” “Style,” or similar icons. Here, you can customize the text by:
- Font: Choose from various fonts available in CapCut.
- Color: Select a different color for the text. A color picker will usually be available.
- Size: Adjust the size of the text using a slider to make it bigger or smaller.
- Bold/Italic/Underline: Apply formatting options like bold, italic, or underline for emphasis.
- Outline/Shadow: Some versions might offer options to add outlines or shadows to the text.
- Look for options labeled “Font,” “Style,” or similar icons. Here, you can customize the text by:
- Text Position:
- You can directly drag and reposition the text box on the preview screen to place it where you want it in your video.
- Text Duration:
- By pinching or stretching the edges of the text box on the timeline, you can adjust the duration of the text element. This controls how long the text stays displayed on the screen.
Adding New Text:
- Text Button:
- Locate the “Text” button at the bottom of the editing interface in CapCut.
- Tapping this button will open a menu with options.
- Add Text:
- Select “Add text” from the menu. This will create a new text box on your timeline and preview screen.
- Text Editing:
- Follow the same steps mentioned in “Editing Existing Text” to customize the content, style, position, and duration of your newly added text.
Additional Tips:
- Text Overlays: You can create multiple text boxes and layer them on top of each other to achieve different effects.
- Animation: Explore the “Animation” section in the text editing options. Here, you can choose from various animations to make your text appear in a dynamic way.
- Alignment & Spacing: Look for options like “Alignment” and “Spacing” to adjust how the text is positioned within the text box.
By mastering these editing techniques, you can effectively add impactful captions, titles, and other text elements to enhance your CapCut videos.

Music: Change the background music to something that fits your video better. You can use music from your device or the royalty-free music library within CapCut. Explan In details
Customizing Background Music in CapCut: A Detailed Guide
CapCut allows you to easily replace the default background music with something that better complements your video. You have two main options for choosing music:
1. Using Royalty-Free Music from CapCut’s Library:
- Access the Audio Panel: Locate the audio icon at the bottom of the CapCut editing interface. Tap on this icon to open the audio menu.
- Sounds Tab: Within the audio menu, you’ll see different tabs like “Sounds,” “Extracted,” and “From Device” (options might vary slightly based on your version). Select the “Sounds” tab.
- Explore Music Library: This tab offers a vast collection of royalty-free music tracks categorized by genre, mood, and other themes. Scroll through the library and preview short snippets of each track to find something suitable for your video.
- Adding Music: Once you find a track you like, tap on it to select it. You can then:
- Drag & Drop: Drag the music track from the library directly onto your video timeline at the desired position.
- Plus Sign: Alternatively, tap the “+” icon next to the music track. This will add the entire track to the beginning of your timeline.
- Fine-Tuning: After adding the music, you can further edit it on the timeline:
- Trimming: Pinch the edges of the music clip on the timeline to shorten its duration and adjust its starting and ending points.
- Volume: Tap on the volume bar displayed next to the music clip. Drag the slider up or down to adjust the volume of the music.
- Fading: Tap and hold the music clip on the timeline. You’ll see small handles appear at the beginning and end of the clip. Drag these handles inwards to create fade-in and fade-out effects for a smoother transition.
2. Adding Music from Your Device:
- Access “From Device” Tab: In the audio menu, switch to the “From Device” tab. This will show audio files stored on your device.
- Locate Your Music: Browse through your device’s music library and locate the music file you want to use.
- Adding Music: Similar to the library method:
- Drag & Drop: Drag the music file from your device’s library directly onto your timeline.
- Plus Sign: Tap the “+” icon next to the music file to add it to the beginning of your timeline.
- Editing Options: Just like with library music, you can trim, adjust volume, and add fade effects to the music from your device on the timeline.
Additional Tips:
- Copyright-Free Music: Ensure you have the rights to use any music you add, especially if it’s downloaded from your device. Look for royalty-free music sources if needed.
- Matching Music to Mood: Consider the mood and theme of your video when selecting music. Upbeat music can energize a scene, while calming music can create a serene atmosphere.
- Multiple Music Clips: You can add multiple music clips on the timeline and trim them to create a custom soundtrack with different segments throughout your video.
By exploring these options, you can personalize your CapCut videos with background music that enhances the overall viewing experience!
Get Access Now: https://capcuttemplate.xyz

Effects and transitions: Many templates come with pre-applied effects and transitions. You can adjust these or add your own. Explan In details
Mastering Effects and Transitions in CapCut: A Comprehensive Guide
CapCut empowers you to add visual flair to your videos with a diverse range of effects and transitions. Here’s a detailed breakdown of how to work with these features, including customizing pre-applied ones and incorporating your own:
Understanding Effects and Transitions:
- Effects: These enhance the visual appearance of your clips. Examples include filters, blurs, color adjustments, and special effects like slow motion or fast motion.
- Transitions: These create smooth and visually appealing connections between different clips in your video. Common transitions include dissolves, wipes, zooms, and fades.
Customizing Pre-Applied Effects and Transitions:
- Locate the Clip: On your editing timeline, identify the clip with the pre-applied effect or transition you want to adjust.
- Select the Clip: Tap on the clip to select it. A yellow outline will appear around it.
- Effects Panel: Look for an “Effects” button or icon above the timeline (placement might vary based on your CapCut version). Tap on it to access the effects panel.
- Transition Options: If the effect you want to adjust is a transition between two clips, you might see a dedicated “Transition” button instead of “Effects.” Tap accordingly.
- Editing the Effect/Transition: Here’s what you can typically do:
- Change Effect/Transition: Browse through the available effects or transitions and select a different one to replace the pre-applied option.
- Intensity Adjustment: For some effects, you might see a slider to adjust the intensity of the effect. Moving the slider will change the strength of the applied effect.
- Duration Modification: You can adjust the duration of the effect or transition by pinching or stretching its edges on the timeline. This controls how long the effect lasts on the screen.
Adding New Effects and Transitions:
- Effects Panel: Similar to customizing pre-applied effects, access the “Effects” panel as described earlier.
- Effect/Transition Selection: Explore the various effects and transitions offered by CapCut. These are typically categorized for easy browsing.
- Adding to Clip: Once you find an effect or transition you like, tap and hold it. Drag it onto your video timeline and position it:
- On a Clip: Placing it directly on a clip applies the effect/transition to that specific clip.
- Between Clips: Placing it between two clips adds the transition to connect those specific clips.
- Fine-Tuning: After adding the effect/transition, you can further edit it on the timeline:
- Duration: Adjust the duration as mentioned earlier.
- Parameters: Some effects might offer additional parameters you can modify by tapping on the effect and exploring its settings.
Additional Tips:
- Experimentation: Don’t be afraid to experiment with different effects and transitions to find what works best for your video’s style and theme.
- Subtlety is Key: While effects and transitions can add visual interest, overuse can be distracting. Use them strategically to enhance your video without overwhelming viewers.
- Matching Transitions to Clips: Consider the type of content in your clips when choosing transitions. A fast-paced wipe transition might work well between action shots, while a slower dissolve might be more suitable for connecting calmer scenes.
By mastering these techniques, you can unlock the creative potential of effects and transitions in CapCut, taking your video editing to the next level!