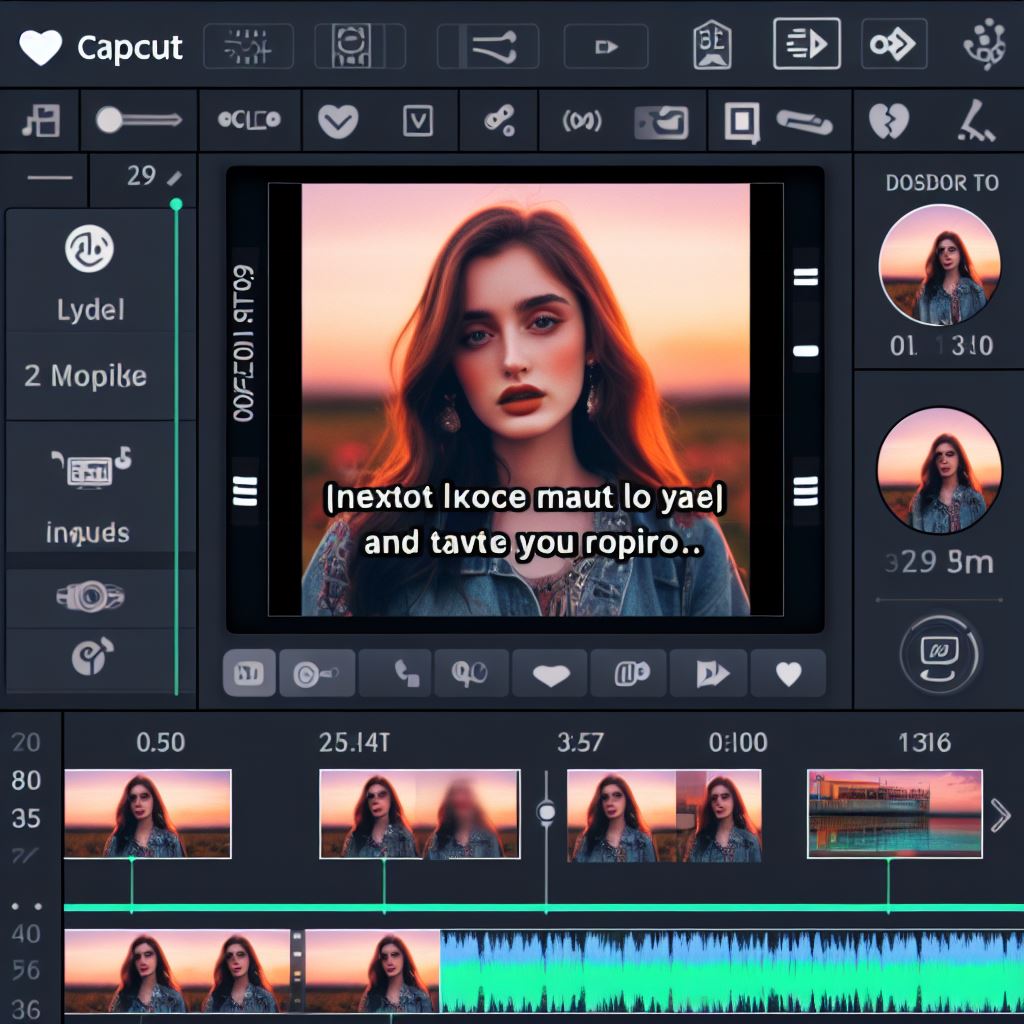
How To Urdu lyrics Add on Photo In CapCut
I’ll guide you through adding Urdu lyrics to a photo in CapCut:
1. Open CapCut and Create a New Project:
- Launch CapCut on your device.
- Tap the “+” icon to start a new project.
2. Import Your Photo:
- On the project screen, tap the “Add” button.
- Select “Photos” from the options.
- Choose the photo you want to use as the background for your lyrics video.
3. Add Text Layers for Lyrics:
- Tap the “Text” button at the bottom of the screen.
- Type in your Urdu lyrics line by line. You can switch the keyboard to Urdu mode if needed (refer to your device’s settings for keyboard language options).
- Tap the checkmark to confirm the text layer.
- Repeat this process for each line of your lyrics, creating separate text layers.
4. Position and Style the Text Layers:
- Tap and hold a text layer to drag it to the desired position on your photo.
- Resize the text layer by pinching or spreading your fingers on it.
- Tap the text layer again to access editing options. Here you can:
- Change the font style and size.
- Adjust the text color to match your photo’s aesthetics.
- Add effects like outlines or shadows (optional).
5. (Optional) Animate the Text Layers:
- To make your lyrics appear one by one or with some animation, tap the “Animation” button on the bottom toolbar.
- Choose an animation style you like (e.g., Fade in, Typewriter, etc.).
- You can further customize the animation by adjusting its duration and timing.
6. Preview and Export:
- Once you’re happy with your lyric video, tap the play button to preview it.
- If everything looks good, tap the export button (arrow pointing upwards) in the top right corner.
- Choose your desired video resolution and frame rate.
- Tap “Export” to save your Urdu lyric video.
Tips:
- Consider using a photo that complements the mood of your lyrics.
- Play around with different text styles and colors to create a visually appealing video.
- You can add background music to your video by tapping the “Audio” button and selecting a song from your device or the CapCut library.
- Explore CapCut’s other editing features like transitions and effects to further enhance your video (optional).
For a more visual guide, you can search for “[YouTube] How to make Urdu Lyrics Video on Capcut App” or “[YouTube] How To Make Aesthetic Urdu Lyrics Video in CapCut App”. These videos might be helpful in seeing the process in action.
Get Access Now: https://capcuttemplate.xyz
Here’s a detailed explanation of step 1: Open CapCut and Create a New Project:pen
1. Open CapCut:
- Locate the CapCut app icon on your device’s home screen or app drawer. It might be a red icon with a white clapboard symbol.
- Tap the icon to launch the CapCut app.
2. Create a New Project:
- Once CapCut opens, you’ll typically see the main screen or dashboard. This screen might display recent projects, trending templates, or other options depending on the app’s version.
- Look for a button labeled “New Project” or a “+” symbol (plus sign). This button is usually prominent, located in the center or top of the screen.
- Tap the “New Project” button or “+” symbol. This action will initiate the creation of a new editing session in CapCut.
Additional Notes:
- By creating a new project, you’re essentially starting a blank canvas for your video editing. You’ll be able to import photos, videos, audio, and text to build your Urdu lyric video.
- CapCut might also offer pre-made templates for creating lyric videos. If you’re interested in using a template, explore that option after launching the app. However, for adding Urdu lyrics to a specific photo, creating a new project from scratch provides more flexibility.
I hope this explanation clarifies step 1 in detail! Feel free to ask if you have any questions about the further steps.pen_sparktunesharemore_vert
Get Access Now: https://www.capcut.com/
Importing Your Photo in CapCut: A Detailed Breakdown
Here’s a step-by-step explanation on how to import your photo into CapCut:
1. Access the Import Menu:
- After creating a new project in CapCut (as explained previously), you’ll be on the editing screen. This screen typically displays a timeline at the bottom and various editing options along the bottom or sides of the screen.
- Locate the button labeled “Add” or a “+” symbol (plus sign). This button allows you to import media into your project.
- Tap the “Add” button or “+” symbol. This action will open a menu with various options for adding media.
2. Select “Photos”:
- In the import menu that appears, you’ll see several options for adding media to your project, such as “Photos,” “Videos,” and “Audio.”
- Since you want to use a photo as the background for your Urdu lyric video, tap the option labeled “Photos.” This will open your device’s photo library or gallery.
3. Choose Your Photo:
- Your device’s photo library will now be displayed. You’ll see all the photos stored on your device.
- Browse through your photos and locate the specific photo you want to use in your lyric video.
- Tap on the desired photo to select it. You might see a checkmark appear on the photo thumbnail to indicate it’s selected.
4. Import Confirmation (Optional):
- In some versions of CapCut, you might see an additional confirmation screen after selecting your photo. This screen might allow you to choose the quality of the imported photo (e.g., Original, High Quality, etc.).
- If you see this confirmation screen, select the desired quality setting and tap the “Import” button (or a similar option) to confirm importing the photo.
5. Photo Appears in the Project:
- Once you’ve selected and confirmed importing your photo, it should appear in the CapCut editing screen. You might see it displayed in a thumbnail format on the timeline at the bottom or in a separate media library section within the app.
Additional Tips:
- If you accidentally select the wrong photo, don’t worry. You can simply repeat steps 1-3 to select the correct photo.
- CapCut supports various photo formats, including JPEG, PNG, and HEIC (depending on your device).
- Consider the size and resolution of your photo. It should ideally match the video resolution you plan to export your final lyric video in for optimal quality.
By following these steps, you’ll successfully import your photo into CapCut and be ready to add your Urdu lyrics!
Get Access Now: https://capcuttemplate.xyz
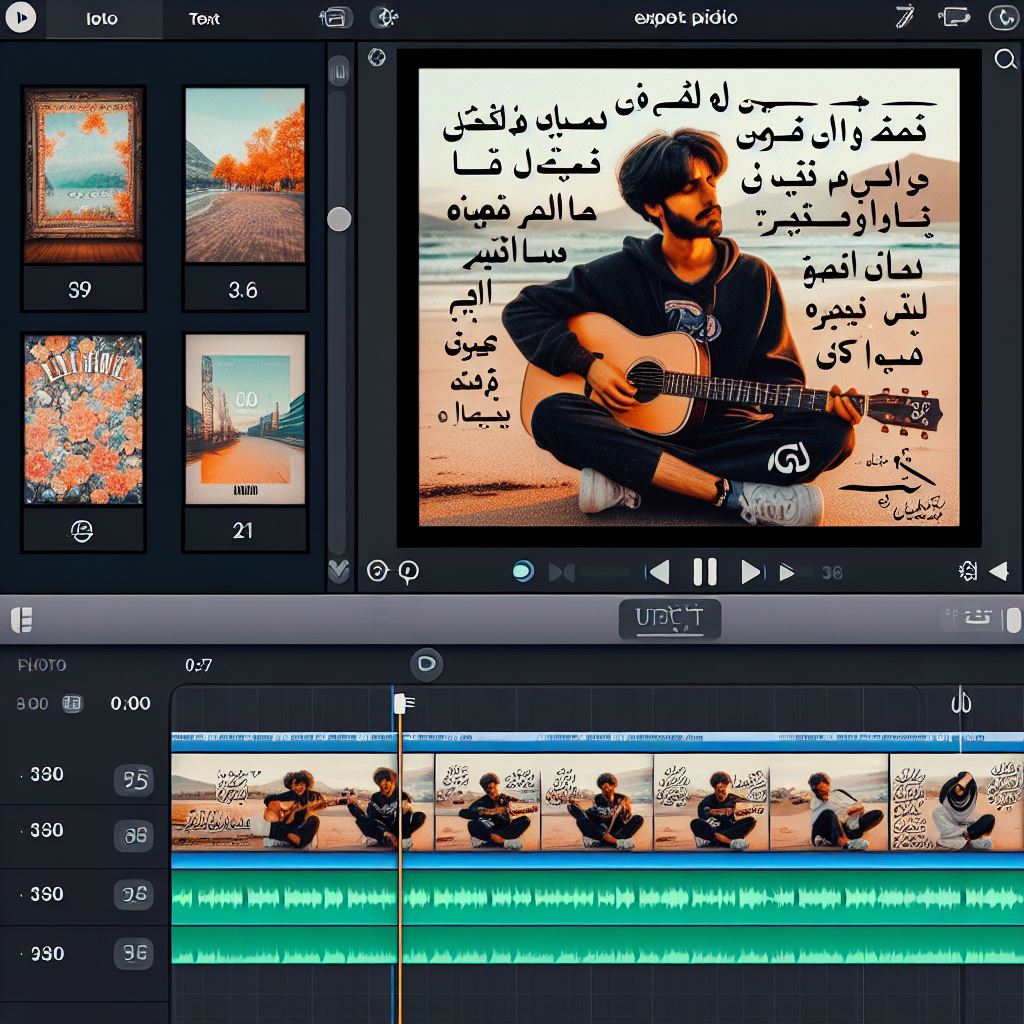
Creating Text Layers for Your Urdu Lyrics in CapCut:
Here’s a breakdown of step 3 on adding text layers for your Urdu lyrics:
1. Access the Text Editing Tools:
- On the CapCut editing screen, locate the tools for adding text. This might be a button labeled “Text” or an icon resembling a letter “T”.
- The “Text” button is typically positioned at the bottom of the screen alongside other editing options.
- Tap the “Text” button to access the text editing tools.
2. Add Your First Lyric Line:
- In the text editing menu that appears, you’ll see options for adding and formatting text.
- Tap the option labeled “Add text” or a similar prompt. This will create a new text layer on your project timeline.
- A text box will likely appear on your editing screen. Here’s where you’ll type your first line of Urdu lyrics.
3. Switch to Urdu Keyboard (if needed):
- If your device keyboard isn’t set to Urdu, you might need to switch it to allow typing Urdu characters.
- The method for switching the keyboard language might vary depending on your device and operating system. Refer to your device’s settings or consult its user manual for instructions on enabling and switching keyboard languages.
- Once you’ve switched to the Urdu keyboard, proceed to type your first line of lyrics in the text box.
4. Confirm and Edit the Text Layer:
- Once you’ve typed your Urdu lyric line, you might need to tap a “checkmark” or “confirm” button to finalize the text layer.
- CapCut will now display the text layer on your editing screen. You can usually tap and drag it to position it on your photo.
5. Repeat for Additional Lines:
- To add more lines of Urdu lyrics, simply repeat steps 2-4. Each time you tap “Add text,” you’ll create a new text layer for another lyric line.
- Type each line of lyrics in the text box, confirm it, and position the text layer on your photo as desired.
Additional Tips:
- Consider using separate text layers for each lyric line. This allows for independent positioning and animation of each line later on (optional).
- You can edit the text in each layer by tapping it again and making changes in the text box.
By following these steps, you’ll successfully add individual text layers for your Urdu lyrics in CapCut. You can then move on to styling and positioning them in the next step!
Get Access Now: https://capcuttemplate.xyz
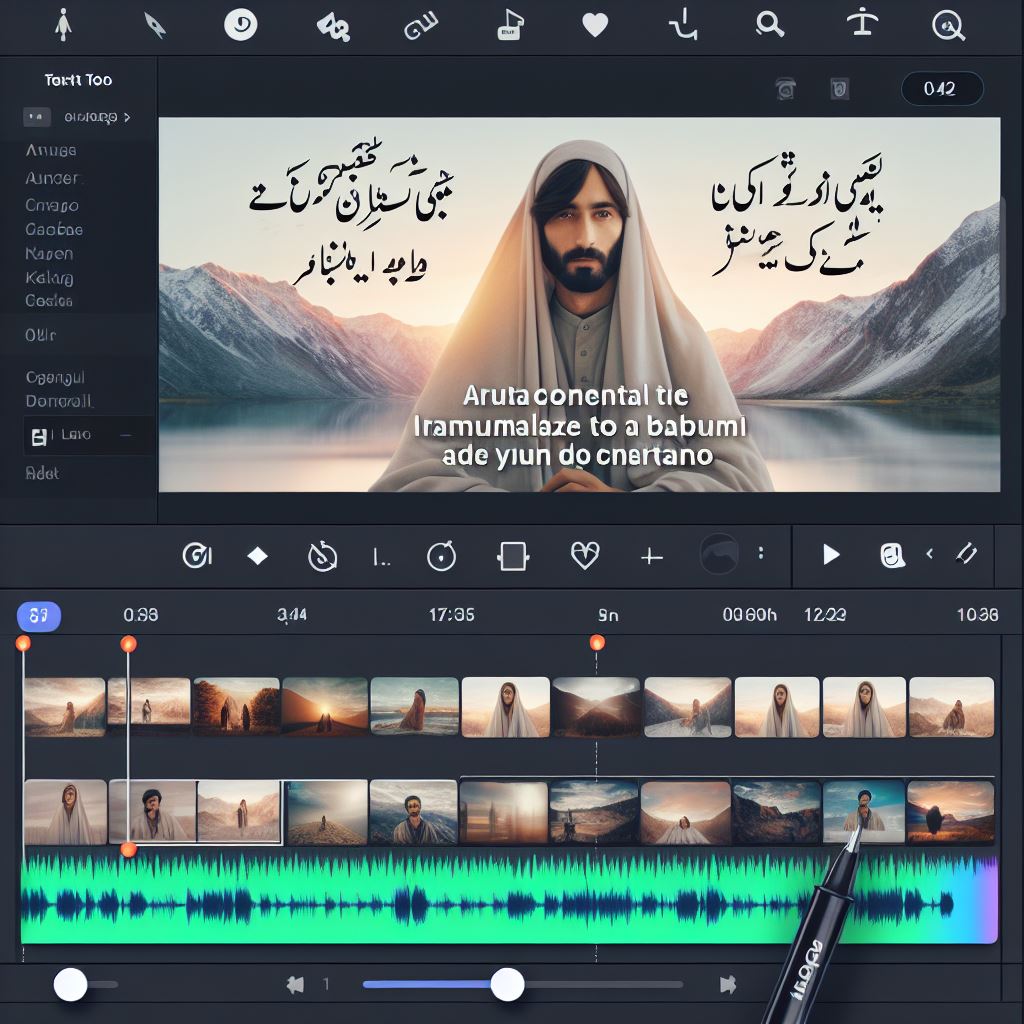
Refining Your Lyric Video: Positioning and Styling Text Layers in CapCut
Now that you have your Urdu lyrics displayed as separate text layers in CapCut, let’s explore how to position and style them:
Positioning the Text Layers:
- Tap and Drag: Each text layer on your timeline acts like an independent element. You can simply tap and hold a text layer to initiate dragging. Drag it to the desired position on your photo.
- Timeline Adjustment: You can also adjust the placement of text layers using the timeline at the bottom of the screen. Locate the corresponding text layer on the timeline and drag its thumbnail left or right to position it precisely within your video.
Styling the Text Layers:
- Accessing Text Editing Options: Tap on a specific text layer to reveal its editing options. These options might appear as a menu above the timeline or within a separate editing panel.
- Font Style and Size: Look for options to change the font style and size of your text. CapCut offers various fonts to choose from. Experiment with different fonts to find one that complements your photo and lyrics. You can also adjust the text size to ensure readability.
- Text Color: Select the desired color for your text. Choose a color that stands out against your photo’s background for better visibility. CapCut provides a color palette or allows you to input specific color codes if you have a preferred shade in mind.
- Text Alignment (Optional): You might have options to adjust the text alignment (left, center, right) within the text layer. This can be helpful for centering titles or specific lyric lines.
Additional Tips:
- Preview Your Work: Frequently tap the play button to preview your video and see how the text layers are positioned and styled. This helps you make adjustments as needed.
- Matching the Style: Consider the overall mood and style of your photo when choosing fonts and colors. For example, a bold, vibrant font might work well for a lively photo, while a more delicate script font might suit a calmer image.
- Layering Text Layers (Optional): You can experiment with layering text layers on top of each other for creative effects. However, ensure the top layer doesn’t completely obscure the underlying text.
- Using Animations (Optional): CapCut offers animation options for text layers. You can explore these options (like fade-in, typewriter effect) to add dynamism to your lyric video (covered in a later step).
By following these steps and using your creativity, you can position and style your Urdu lyric text layers to create a visually appealing and engaging lyric video in CapCut.
Adding Flair: Animating Text Layers in CapCut (Optional)
CapCut offers animation features you can use to bring your Urdu lyric video to life. Here’s a detailed breakdown of how to animate your text layers:
1. Accessing Text Animation Options:
- Tap on the specific text layer you want to animate in your editing screen.
- Locate the button labeled “Animation” or an icon resembling a moving image. This button typically resides at the bottom of the screen alongside other editing options for the selected text layer.
- Tap the “Animation” button to reveal the animation options for that text layer.
2. Choosing an Animation Style:
- CapCut provides a variety of animation presets you can apply to your text layer. These presets include effects like:
- Fade in (text gradually appears)
- Typewriter (text appears character by character)
- Bounce (text bounces in)
- Slide in (text slides in from a direction)
- Zoom in/out (text zooms in or out)
- Preview each animation style by tapping on it. This helps you visualize how it will look with your text layer.
- Select the animation style that best suits your lyrics and overall video aesthetic.
3. Customizing Animation Properties (Optional):
- While some animation presets might be simple on/off options, others might allow for further customization.
- Look for sliders or settings to adjust the animation duration, delay, or direction (if applicable).
- Duration: Controls how long the animation effect takes to play.
- Delay: Determines how long the text layer remains unseen before the animation starts.
- Direction (for some animations): Specifies the direction from which the text enters or exits the frame.
- Experiment with these settings to fine-tune the animation to your liking.
4. Applying the Animation:
- Once you’ve chosen and (optionally) customized the animation style, confirm your selection. This might involve tapping a “checkmark” button or simply exiting the animation menu.
- The chosen animation will now be applied to your text layer.
5. Animating Multiple Layers (Optional):
- You can repeat steps 1-4 for each text layer to animate all your Urdu lyrics with different animation styles.
- Consider using complementary or contrasting animation styles for various lyric lines to create visual interest.
- Remember to preview your video frequently to ensure the animations flow smoothly and don’t clash with each other.
Additional Tips:
- Matching Animation to Lyrics: Think about how the animation style can complement the meaning or mood of your lyrics. For example, a dramatic zoom-in animation might suit a powerful lyric line.
- Subtlety is Key: While animations can add flair, avoid using overly complex or distracting animations that might take away from the lyrics themselves.
- Timing is Important: Ensure the animation duration and delay are appropriate for the length of your lyrics. You don’t want text appearing or disappearing too abruptly.
By using these steps and your creativity, you can add animation effects to your text layers, taking your Urdu lyric video in CapCut to the next level!
Get Access Now: https://capcuttemplate.xyz
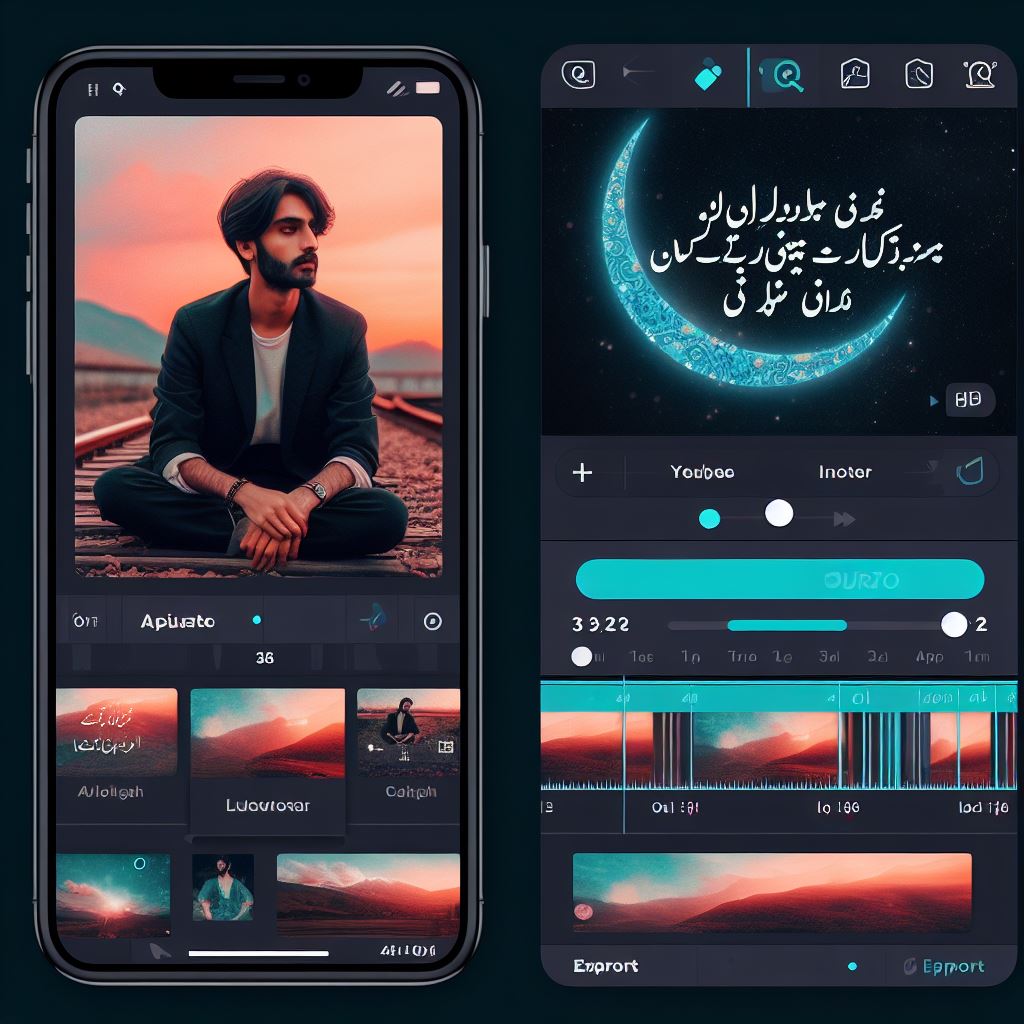
Finalizing Your Work: Previewing and Exporting in CapCut
Now that you’ve added your Urdu lyrics, positioned and styled them, and optionally applied animations, it’s time to finalize your video:
1. Previewing Your Lyric Video:
- Before exporting your video, it’s crucial to preview it thoroughly. This ensures everything looks and sounds as intended.
- Locate the play button on the CapCut editing screen. It’s typically a large triangle button located in the center of the screen or towards the bottom right corner.
- Tap the play button to preview your video. Pay attention to the following aspects:
- Timing: Are the text layers appearing and disappearing at the correct times in relation to the music (if you’ve added any)?
- Readability: Can you clearly read the Urdu lyrics against the background photo?
- Flow: Does the video flow smoothly with transitions between lyric lines (if you’ve added any transitions)?
- Overall Look: Are you satisfied with the visual style and animations (if used)?
2. Making Adjustments (Optional):
- If you notice any issues during the preview, you can always go back and make adjustments. You can:
- Reposition text layers on the timeline for better timing.
- Edit the text content or styling if needed.
- Modify animation styles or durations.
3. Exporting Your Video:
- Once you’re happy with your preview, it’s time to export the final video.
- Locate the export button in the CapCut editing screen. It’s typically an arrow pointing upwards, often positioned in the top right corner.
- Tap the export button. This will open an export menu with various options.
4. Choosing Export Settings:
- The export menu allows you to customize various settings for your final video:
- Resolution: Select the desired resolution for your video. Higher resolutions like 1080p or 4K offer better quality but result in larger file sizes. Choose a resolution suitable for your needs and intended platform (e.g., social media sharing).
- Frame Rate: This determines the smoothness of your video. A higher frame rate (like 60 fps) creates a smoother viewing experience but also increases file size. Consider a standard 30 fps for most purposes.
- Bitrate: This affects video quality. A higher bitrate offers better quality but increases file size. CapCut might offer recommended bitrate options based on your chosen resolution.
5. Export Confirmation:
- Once you’ve selected your desired export settings, tap the “Export” button (or a similar option) to initiate the exporting process.
- CapCut will encode your video based on the chosen settings. The processing time might vary depending on the video length and your device’s processing power.
6. Locating Your Exported Video:
- Upon successful export, CapCut will typically notify you and might even offer options to share the video directly to social media platforms.
- The exported video will also be saved on your device’s storage. The specific location might vary depending on your device and CapCut’s settings. You can usually find the exported video in your device’s gallery or video folder.
Additional Tips:
- Consider File Size: Be mindful of the exported video’s file size, especially if you plan to share it online. Choose export settings that balance quality with a reasonable file size.
- Project Saving (Optional): If you’re not finished editing and want to come back later, CapCut might offer a project-saving option. This allows you to resume editing your lyric video at a later time.